For the complete documentation index, see llms.txt. This page is also available as Markdown.

Configure Journey steps and branches

After configuring who can enter a Journey, add steps to define what happens to each profile and in which order.

Steps can delay progression, split profiles into branches, activate destinations, or end a path. Add only the steps required by your use case.

Add and configure a step

  1. Click the + button at the point where you want to add a step.

  2. Select the step type.

  3. Configure the step in the side panel.

  4. Save the configuration.

You can select an existing step to review or update its configuration while the Journey is editable.

Branching steps such as Segment and Pause Until must be added at the end of a path. They cannot be inserted between two existing steps.

Choose the right step

Step
Use it when

Wait

Progression should resume after a fixed duration.

Segment

Profiles should follow different paths based on a current profile field.

Pause Until

Progression should resume when a profile condition becomes true or an event occurs.

Activate

Profiles should be sent to one or more activation targets.

Stop

A path should end explicitly.

Delay progression with Wait

Wait keeps profiles at the current point for a fixed duration.

Set a positive whole number and choose one of the following units:

  • hours;

  • days;

  • weeks.

The total duration cannot exceed 365 days.

For example, you can add a Wait before an Activate step when profiles should not be sent to a destination immediately after entering the Journey.

Use Wait when elapsed time is the only condition. If progression should resume as soon as a profile attribute changes or an event occurs, use Pause Until instead.

Create branches with Segment

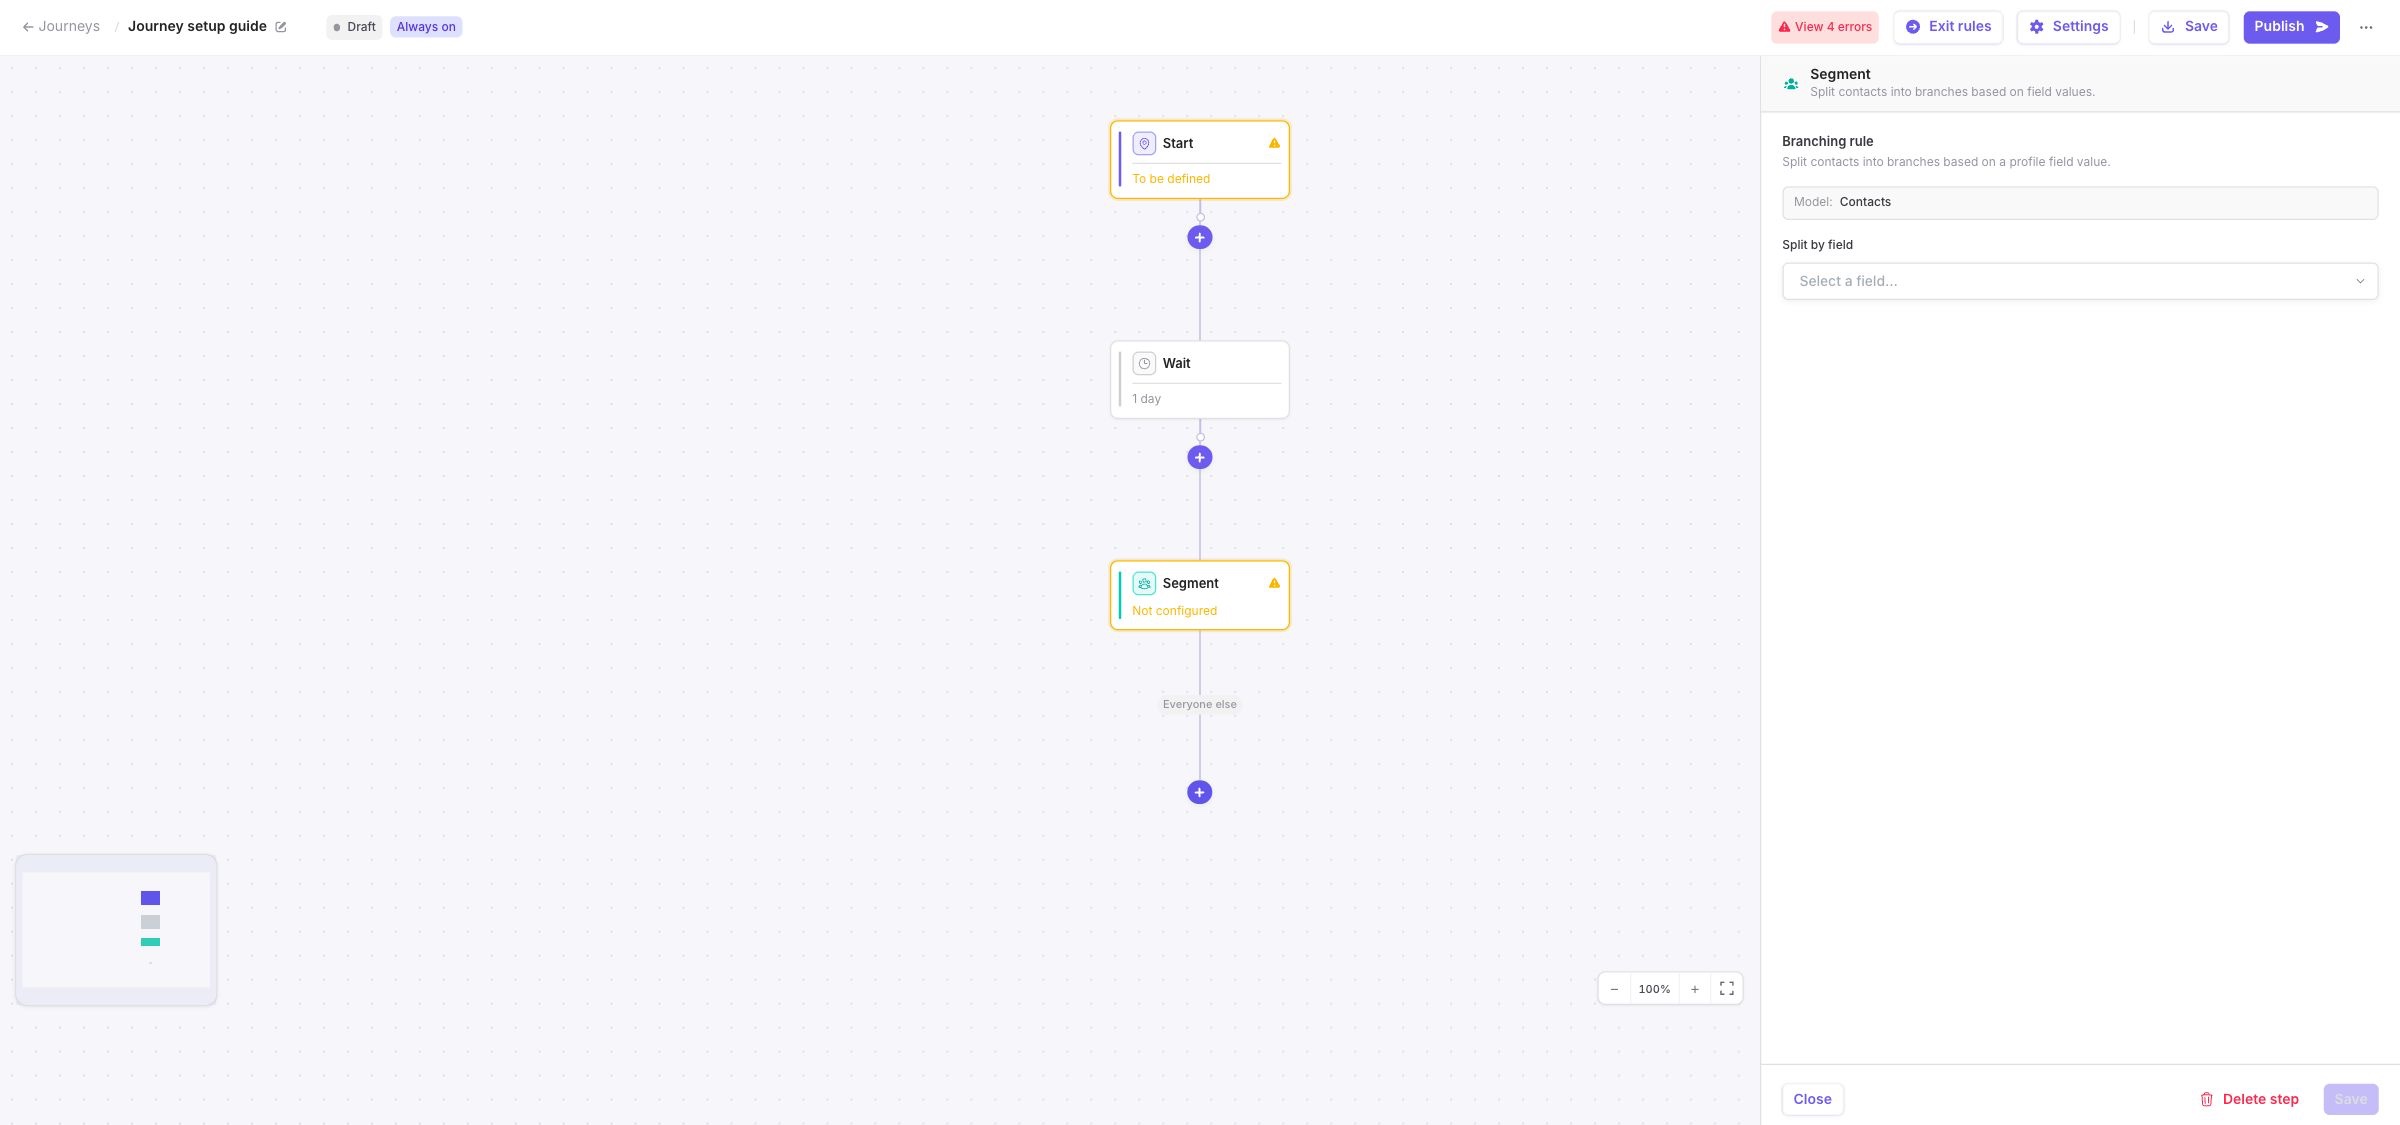
Segment routes profiles according to the value of a field in the Customer Hub profile model.

Select a supported categorical or Boolean field, then create the groups that should have their own paths.

Segment configuration panel showing the profile model and field selector
Select the profile field that DinMo should use to create the branches.
Each group must:

  • have a unique name;

  • contain at least one field value;

  • use values that are not already assigned to another group.

A Segment can contain up to 10 configured groups. DinMo also creates an Everyone else branch for profiles whose value does not belong to any configured group.

For example, you can create separate branches for different membership tiers. Profiles with any other value continue through Everyone else.

Segment uses the profile field value available when the profile reaches the step. Later changes do not move the profile to another Segment branch.

Wait for a condition with Pause Until

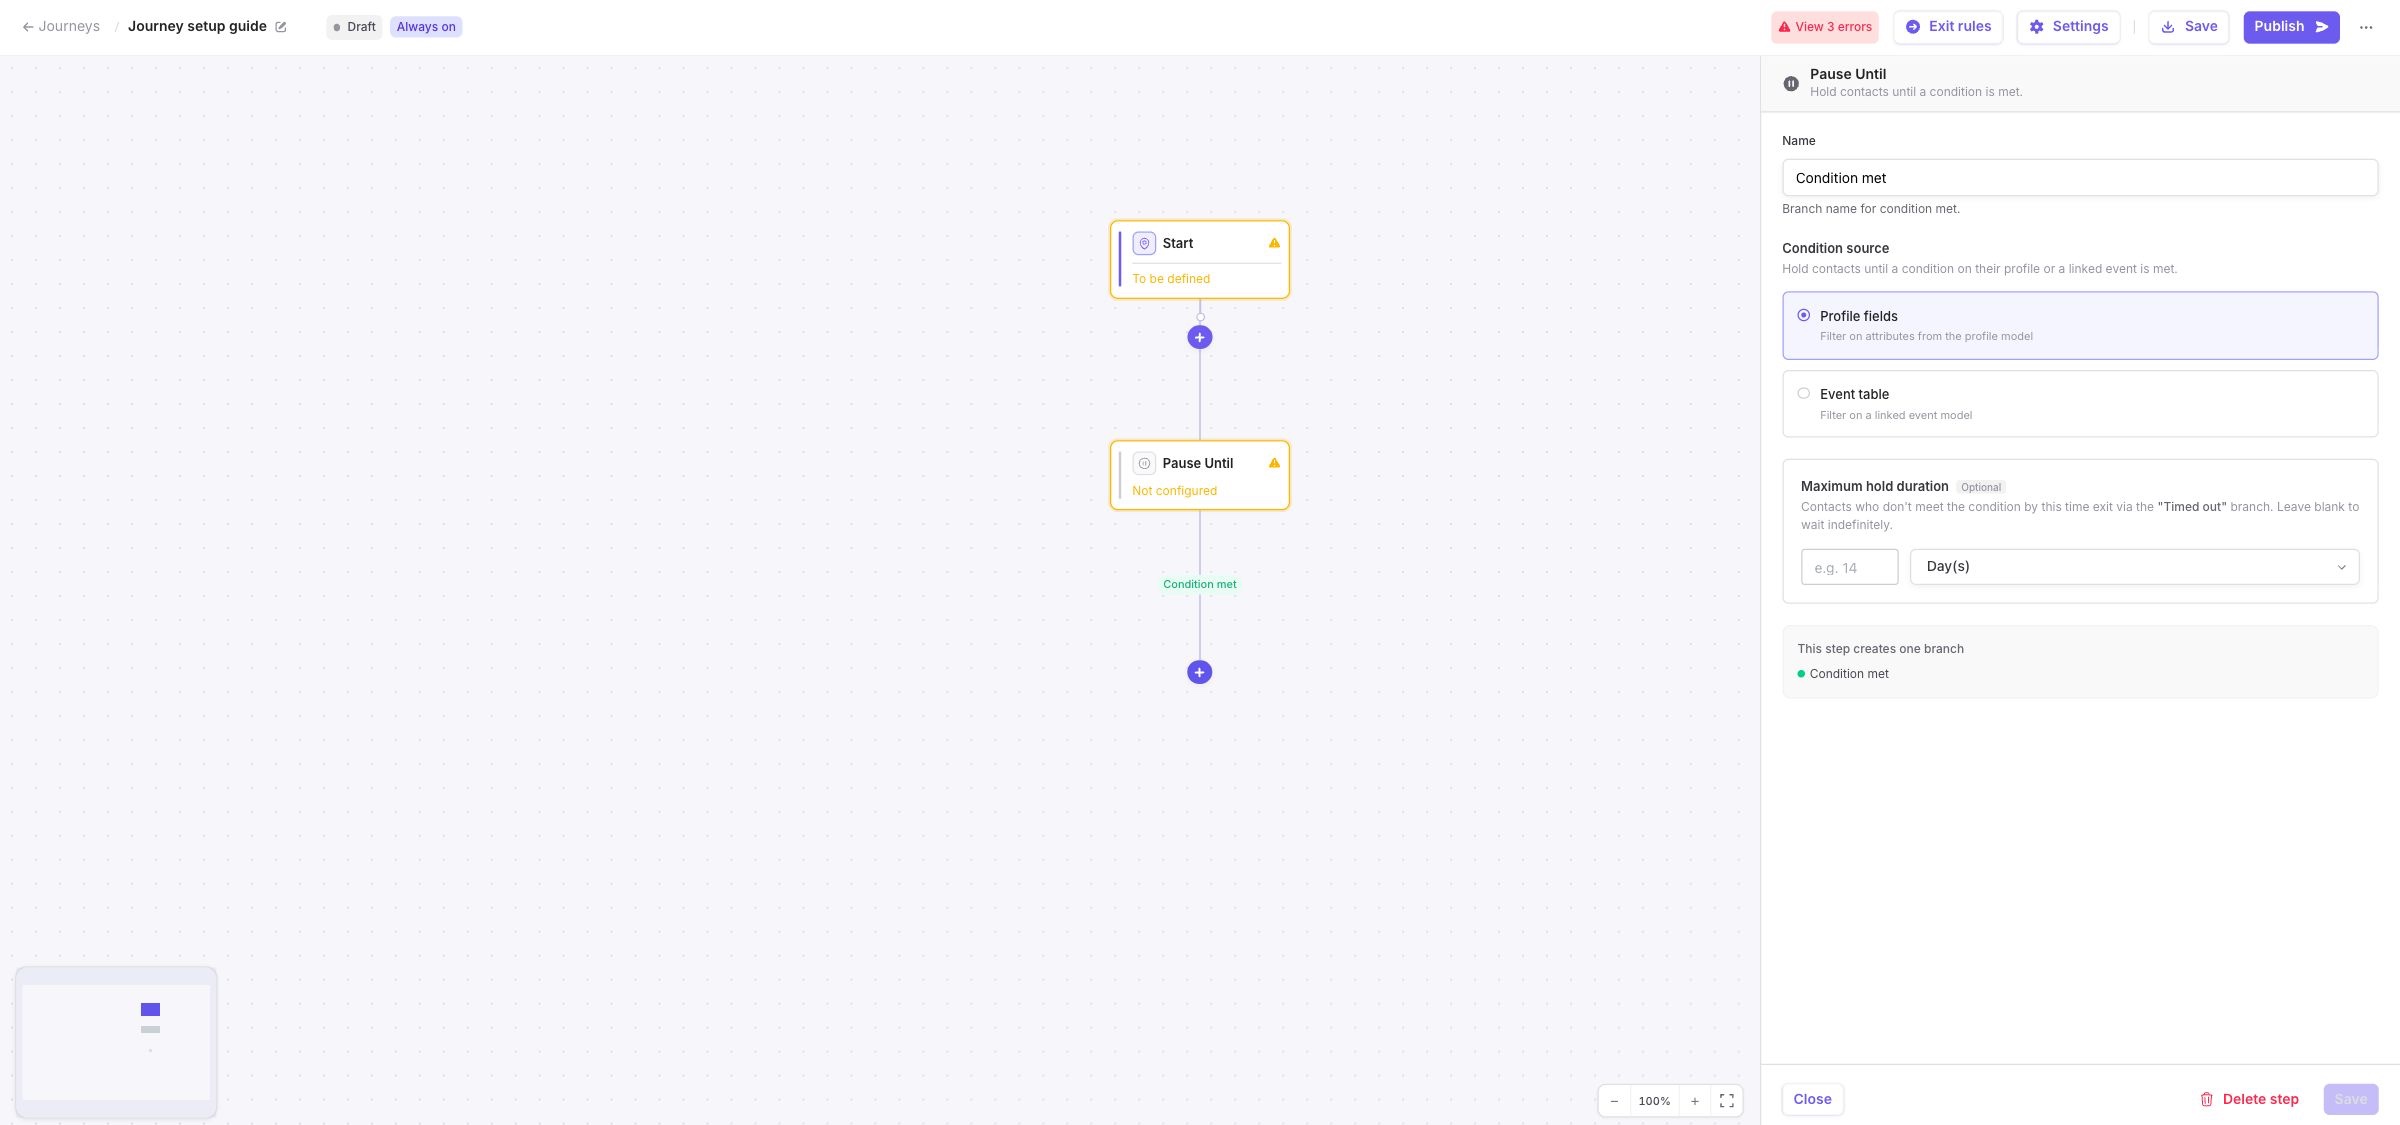
Pause Until keeps a profile at the current point until a condition is met.

Give the condition a clear name, then choose its source:

Condition source
Configuration

Profile fields

Define one or more conditions using fields from the Customer Hub profile model.

Event table

Select an event model, set the minimum number of occurrences, and optionally filter the relevant events.

Pause Until configuration panel showing profile and event condition sources and an optional maximum duration
Choose the condition source and decide whether profiles need a timed-out path.
For example, you can pause a profile until its lifecycle status changes or until a purchase event occurs.

Add a maximum duration

A maximum duration is optional. Enter a positive whole number in hours, days, or weeks, up to a total of 365 days.

  • Without a maximum duration, the step has one outgoing path. Profiles remain paused until the condition is met.

  • With a maximum duration, the step has a condition met path and a timed out path.

Conditions are checked according to the Journey processing schedule. A profile progresses the next time the Journey processes it after the condition is met or the maximum duration is reached.

Activate destinations

Activate sends the profiles that reach the step to one or more activation targets available in the Customer Hub.

Select at least one activation target. You can select several targets in the same step when the same profiles should be activated together.

For example, you can add an Activate step after a Wait, Segment, or Pause Until step to send only the profiles that reach that point.

The same activation target can be selected in several Activate steps, but DinMo flags this configuration for review because the same profile may be activated more than once.

End each path with Stop

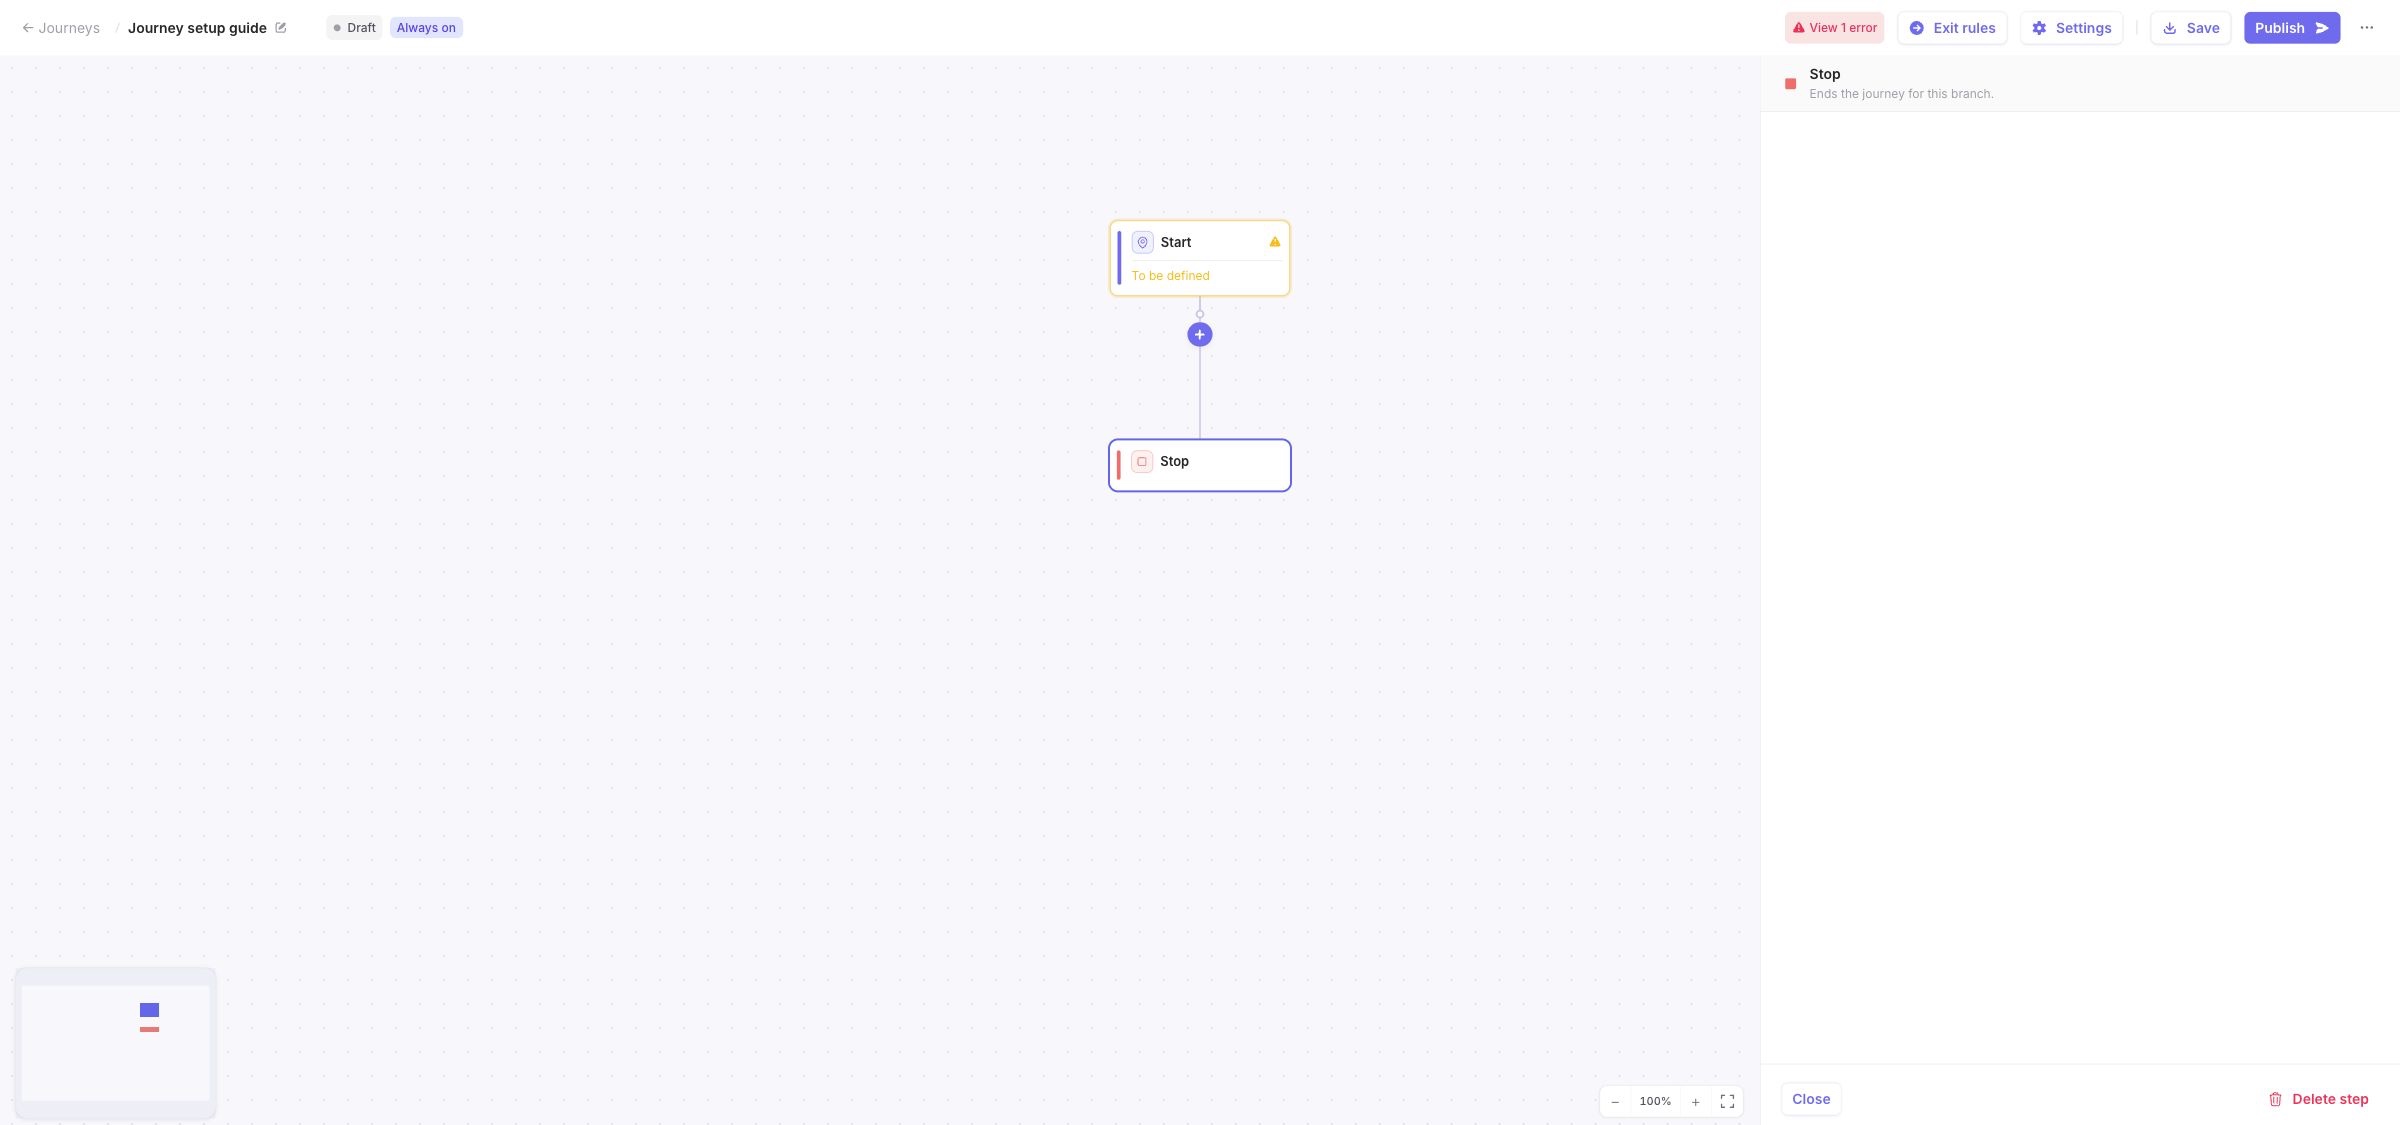
Stop explicitly ends a path. A Stop step has no outgoing connection and a profile that reaches it has completed its current Journey occurrence.

Every path must end with Stop before the Journey can be published.

Journey canvas showing a Stop step at the end of a path
Stop makes the end of a path explicit in the canvas.

For example, add Stop after the last action in each Segment or Pause Until branch so that every possible outcome has a visible ending.

Build valid paths

DinMo prevents or flags structures that cannot be published. In particular:

  • every step except Start must have a single parent;

  • branches cannot merge back into the same step;

  • every path must end with Stop;

  • a Journey can contain up to 50 steps and up to 10 levels;

  • a Journey can contain up to 8 branching steps.

Use the publish checklist to distinguish blocking errors from warnings before making the Journey active.

Last updated